Photoshop can sometimes be tricky when you want to go back and revert some actions you did. In some situations, you will easily undo the action, while in others, it will be more complicated or even impossible to do that. Merging the layers is one of those actions you’ll often rethink and want to undo.
As a quick reminder, merging layers means combining multiple layers into only one. In this article, I’ll cover how to unmerge layers in Photoshop. Also, I’ll suggest what methods you should consider using to merge layers to avoid unnecessary complications.
Three ways how to unmerge layers in Photoshop
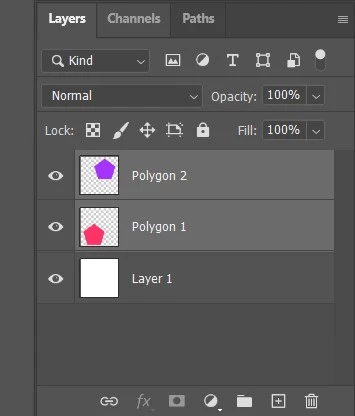
For all the examples, I will use the same image consisting of 2 shapes and white background – three layers total.
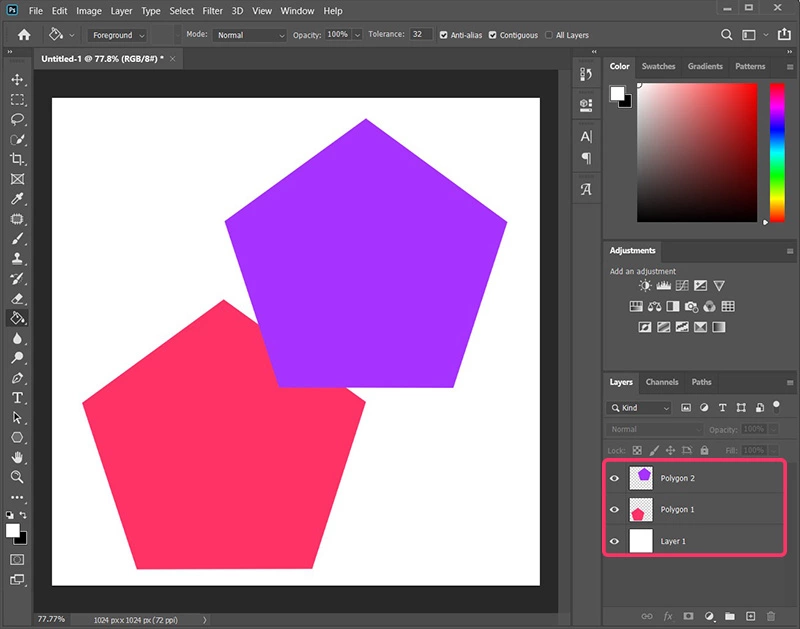
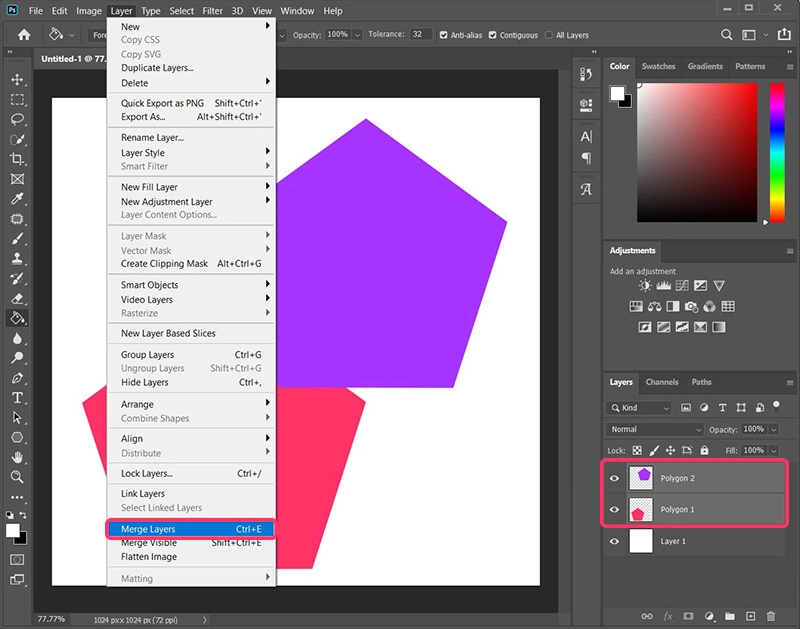
Before diving into different methods of how you can unmerge layers, let’s first remind ourselves how to merge layers. First, select the layers you want to merge, then choose Layers > Merge Layers or press Ctrl+E (Windows) / Command+E (Mac) to merge them.
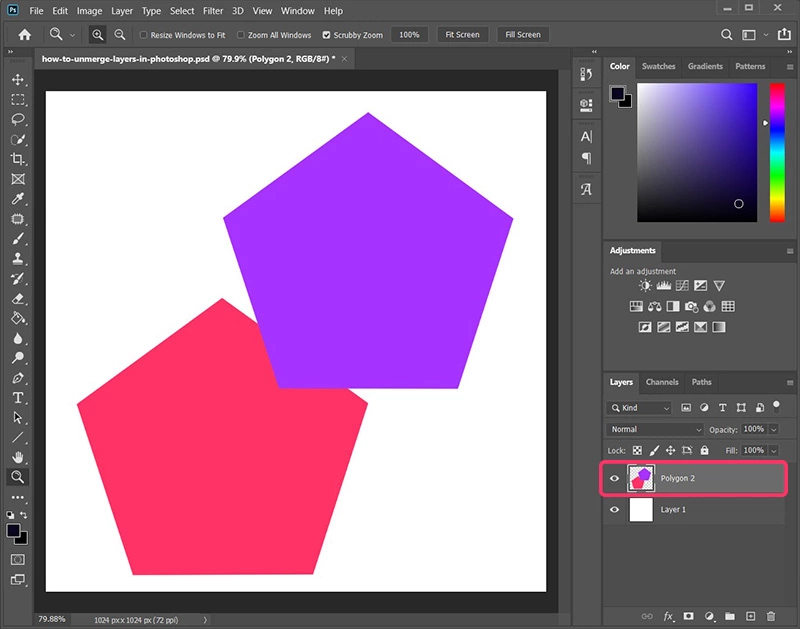
You’ll see that previously selected layers were replaced by a new layer containing the content from both. Unfortunately, this is a destructive way of editing since the original layers are lost and transformed into a new one.
Now, let’s see how to unmerge layers in Photoshop.
Use Undo command to unmerge layers
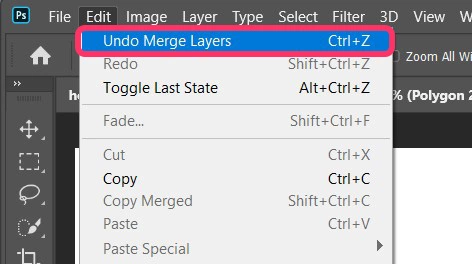
The simplest way to unmerge layers is to use the Undo command. If you merged layers, and want to undo it, choose Edit > Undo Merge Layers or just press Ctrl+Z (Windows) / Command+Z (Mac).
This will return layers in a state they were in before merging. You can see in our example that there are again two layers in the Layers panel alongside the background layer.
Yet, this method is very limited in terms of possibilities, and in most cases won’t be enough to achieve the result you want. If you already did a bunch of additional edits after you merged layers, undoing to the point where you merged them will also undo all these edits you did. That can be very irritating since there won’t be any way to recover all the actions you did meanwhile.
Also, undo won’t work if you close Photoshop and open the image again. This is because Photoshop keeps track of previous actions only temporarily while the current session is still active.
Use the History panel to revert actions
A slightly more flexible method for unmerging layers is to use the History panel to revert the edit to the specific state. The History panel is a tool that creates a chronological top-down view of every performed action in the current Photoshop session.
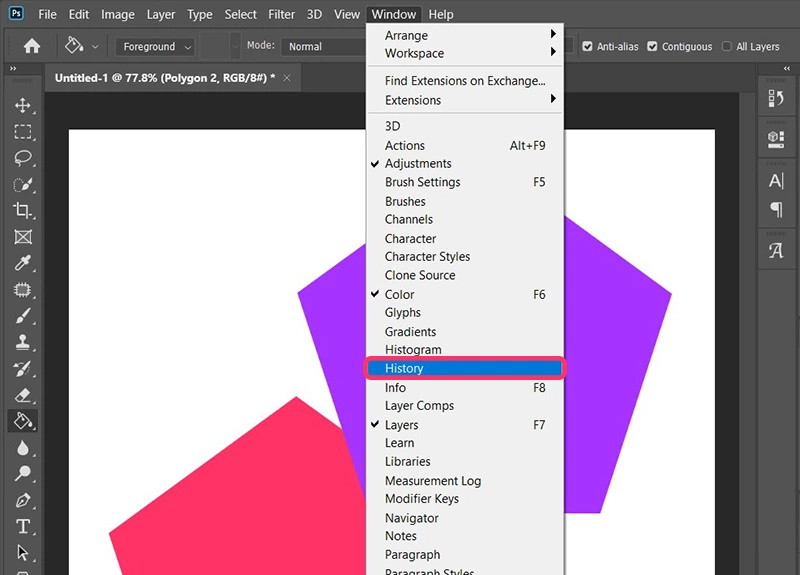
To access the History panel, click on the History panel icon to open it. If you can’t see the icon, it probably isn’t enabled in the current workspace view. To enable it, make sure Window > History is checked.
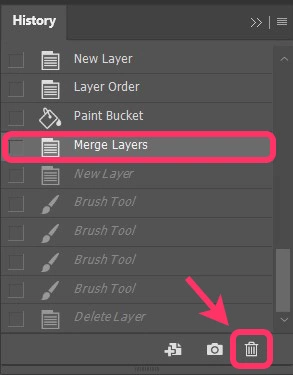
To unmerge layers, you must first find the Merge Layers action in the History panel. Then select it, and click on Delete current state. Doing this will remove the Merge Layers action from the history and all other actions that followed. So, the outcome is similar to the previous method when we used the Undo command. Only you can be more precise by using the History panel and selecting the specific state you want to return to.
The History panel also won’t be helpful if you close the Photoshop and open it again. But, again, this is because it only preserves actions performed in the current session.
Use Selection tools to separate layers
If none of the above methods are applicable in your case, the only thing you can do is separate layers yourself. The easiest way to do that is to use one of the available selection tools and use it to create a selection.
Again I’ll use the example with two shapes on a white background, merged together:

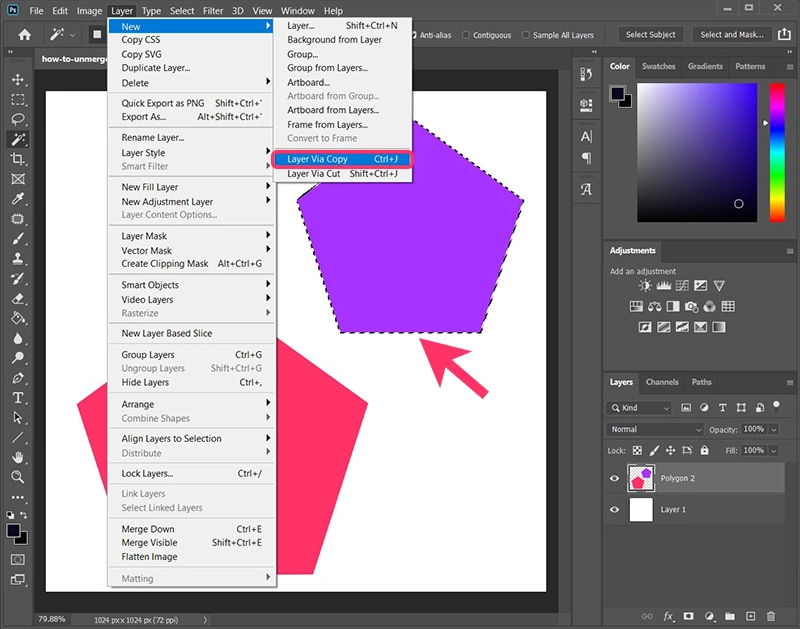
I’m using the Magic Wand Tool to quickly select desired part of an image based on similar colors. After creating a selection on the merged layer, copy the content to a new layer by choosing Layer > New > Layer via Copy or pressing Ctrl+J (Windows) / Command+J (Mac). You can read more about this technique in the previous article I wrote. Alternatively, you can copy and paste the selection to a layer you created beforehand.
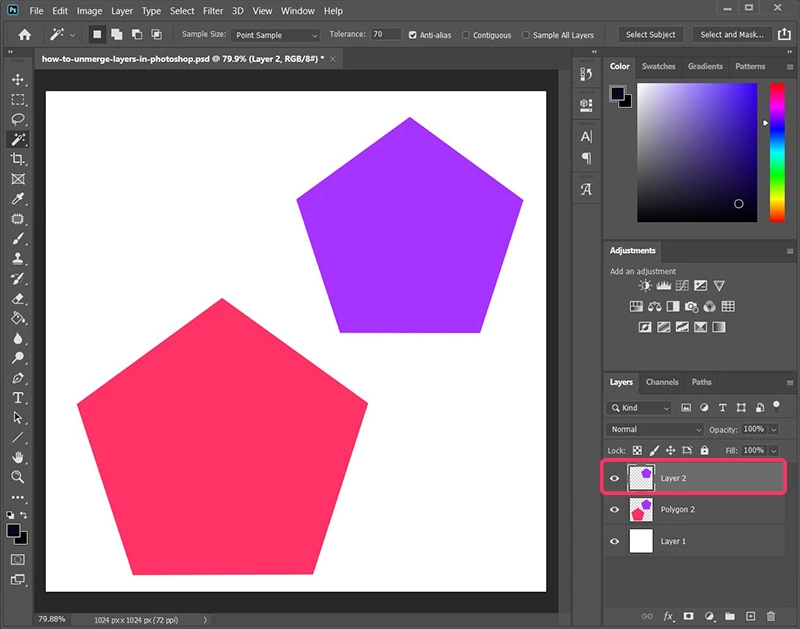
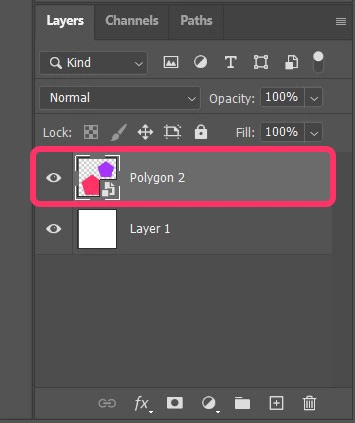
Doing this will yield a new layer created from the selection. As you can see, a new layer appeared in the Layers panel, and it contains the purple shape selected a moment ago.
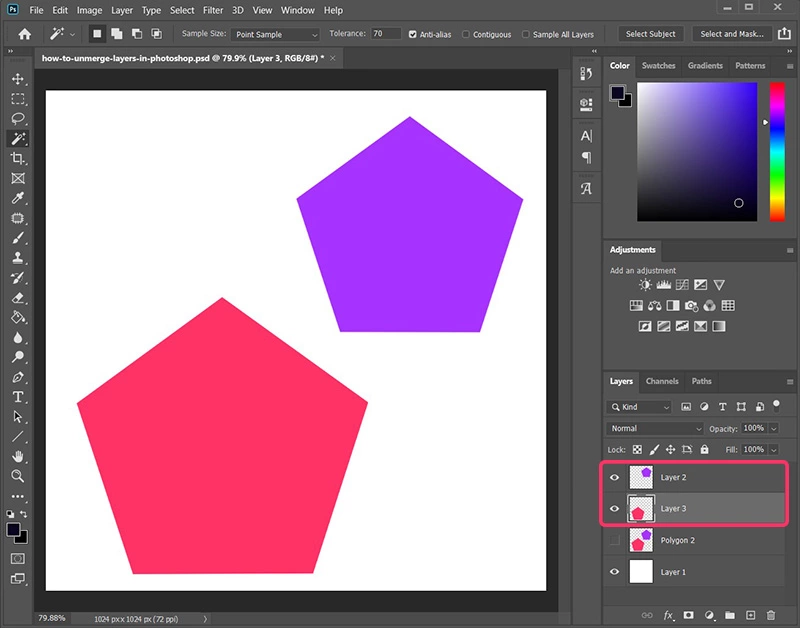
You need to repeat this process for each layer you want to separate from the merged layer.
Although this method can be used to unmerge layers in Photoshop after saving, it has one major drawback, unlike the previous two methods. It works fine when merged layers aren’t overlapping. Still, it isn’t helpful in a case when you have overlapping layers that you’d like to separate.
Alternative methods for merging layers
You can avoid most difficulties with unmerging layers if you slightly change your editing flow in Photoshop. Of course, I’m talking about non-destructive editing, which does not permanently overwrite original layers’ data. So if you make adjustments you are not satisfied with, you can easily return to the original state of the particular layer and again make changes from there.
I will show you three non-destructive methods that will make your life easier, and you won’t have to deal with unmerging layers anymore.
Use Smart Object to merge layers in Photoshop
Using the Smart Object functionality is my preferred way of merging layers in Photoshop. It allows you to merge multiple layers and still access each layer individually. You can even make changes to each layer, and those changes will propagate to the merged layer that is a Smart Object.
Let’s see how it works in action! For demo purposes, I’ll use the same example as before.
First select layers you want to merge in the Layers panel. Then choose Layer > Smart Objects > Convert to Smart Object or right-click any of the selected layers and choose the Convert to Smart Object option.
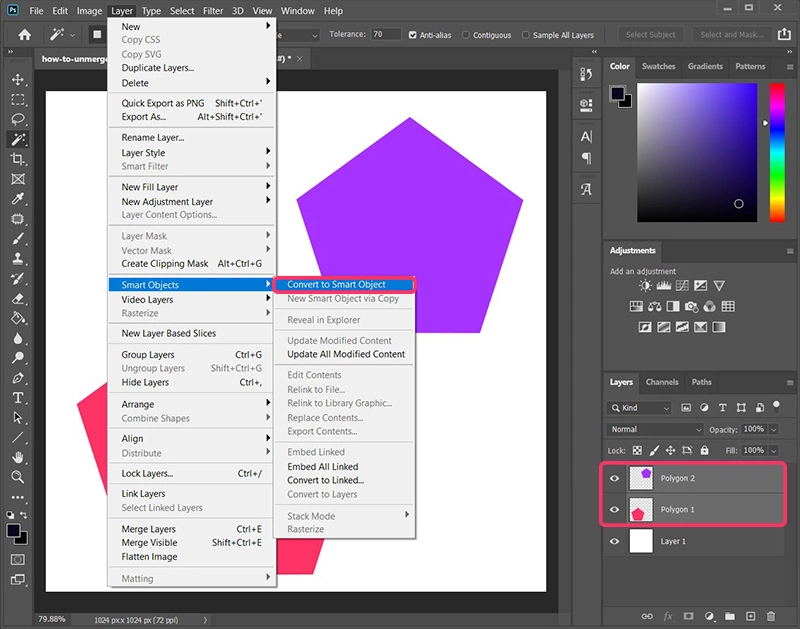
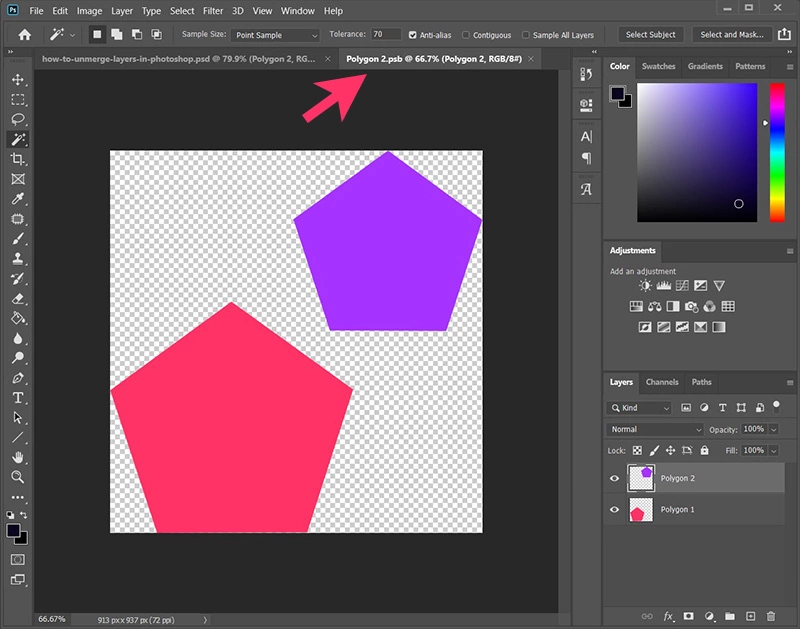
This will immediately convert selected layers to a Smart Object. You’ll notice a small icon in the bottom right corner of a layer thumbnail. To edit converted layers individually, double-click on the layer thumbnail.
Photoshop will switch to another tab that represents layers of a Smart Object. You can notice that the layers are laid out individually in the Layers panel, and you can make whatever adjustments you want to each of them.
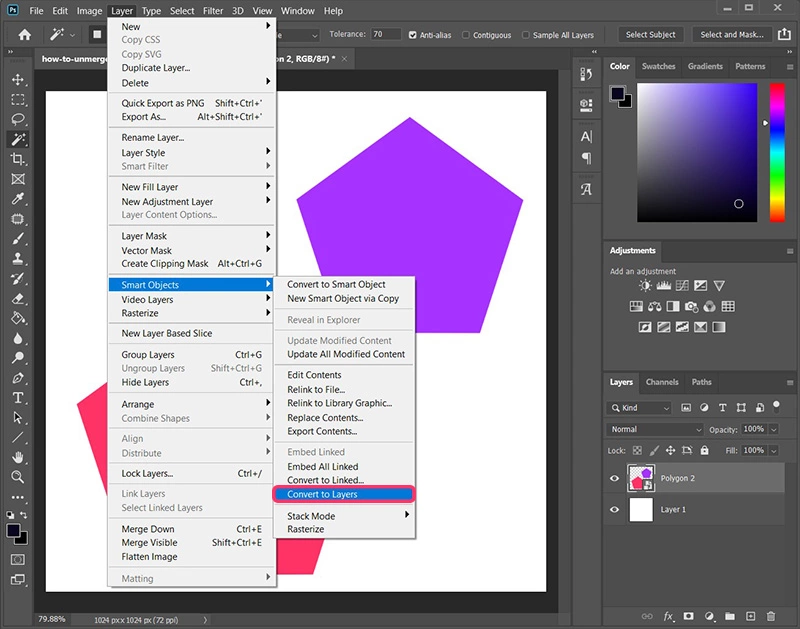
If, for some reason, you want to unmerge layers at any time, choose Layer > Smart Objects > Convert to Layers. Alternatively, you can right-click on the Smart Object and select Convert to Layers. Layers will again show up in the Layers panel as before.
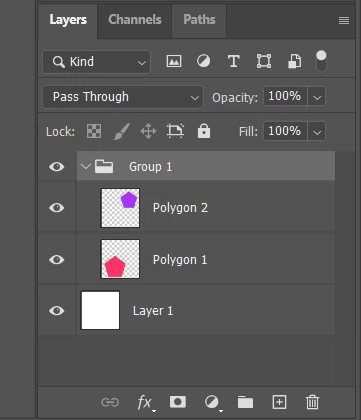
Group layers together
Another method of merging layers by their context is by grouping them. This is not exactly merging, but it can work in most cases when you need to clean a mess in the Layers panel.
To group layers, select layers in the Layers panel, then use any of these three methods:
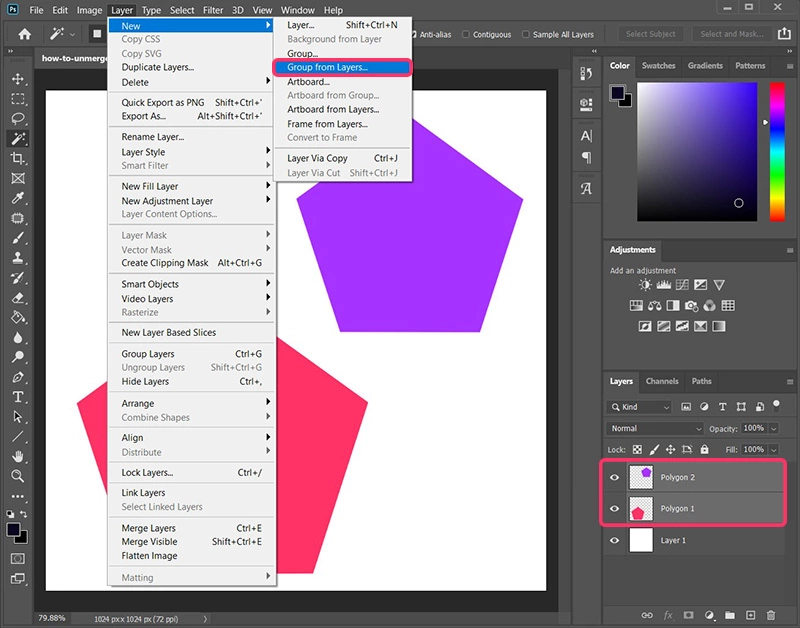
- Choose Layer > New > Group from Layers.
- Right-click on any of the selected layers, select Group from Layers.
- Drag selected layers to the Create a new group thumbnail at the bottom of the Layers panel.
After this, layers will be located in a new folder in the Layers panel. Grouping also allows you to adjust each layer individually without losing any original data.
Merge layers into a new layer
If you still want to use the standard Merge Layers functionality, make sure to do it without losing original layers. You can do that by merging all the visible content into a new layer. This will preserve original layers and allow you to make any additional adjustments in the future.
Make sure that only layers you want to merge are visible. Check or uncheck the Eye checkbox next to the layer thumbnail to toggle the visibility of each layer. When you adjust the visibility of layers, press Ctrl+Alt+Shift+E (Windows) or Command+Option+Shift+E (Mac).
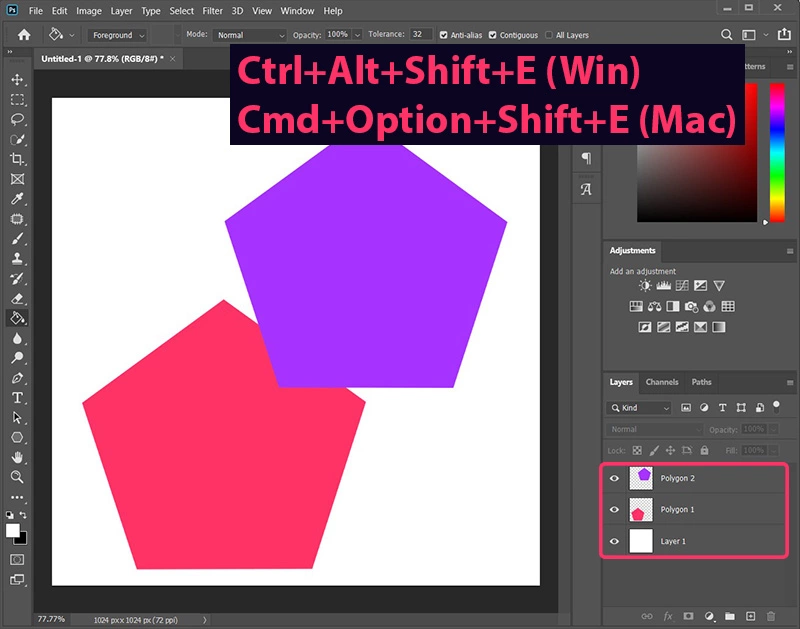
Doing this will merge all visible layers into a new layer. In the end, you can make hidden layers visible again.
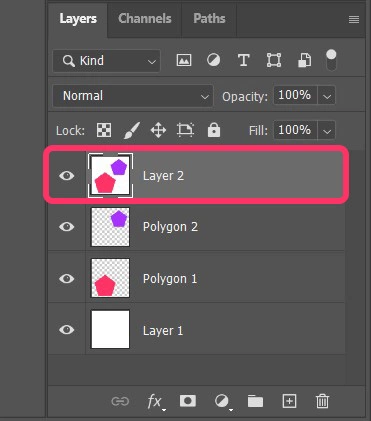
This is a quick and convenient method of preserving the original layers while merging them simultaneously.
Summary
The lesson of this article is that it’s always better to think in advance what steps you will take than undoing them later. By mastering the non-destructive way of editing, you won’t have to deal with headaches caused by overwritten states and actions. Still, if in some cases you need to undo performed actions, or in this case, unmerge layers – your best chance of doing that is by using the Undo command or History feature of Photoshop. Not guaranteed, but these can work in some situations, especially if you didn’t close the Photoshop session.