In this tutorial, you’ll learn how to rotate a layer in Photoshop. Whether you do logo design or photo-editing you’ll always have to rotate some elements a bit. This simple technique will help you in many of those situations where rotation is needed.
I will show you a few different methods you can use for rotating the layer so you can decide which one suits your needs best.
How to Rotate a Layer in Photoshop
To rotate a layer, you’ll first need to:
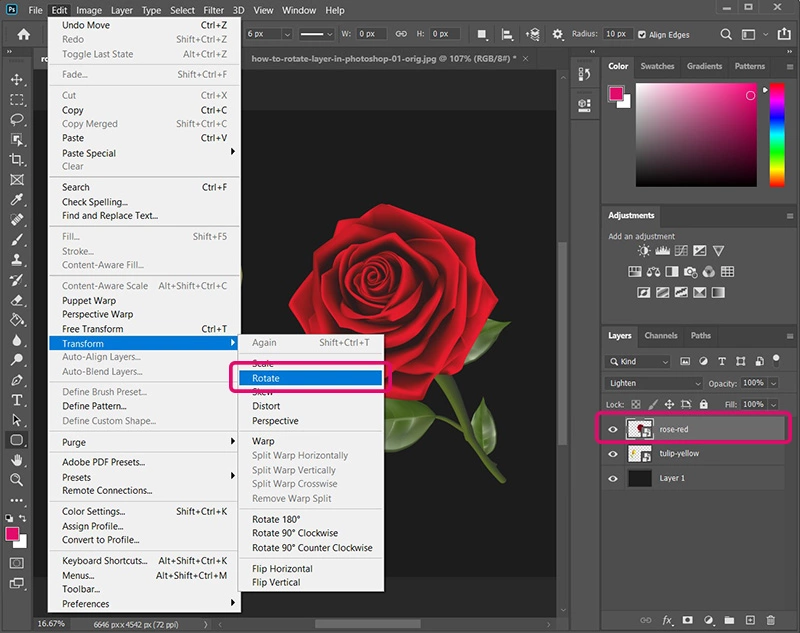
Step 1. Select the layer you want to rotate by clicking on it in the Layers panel.
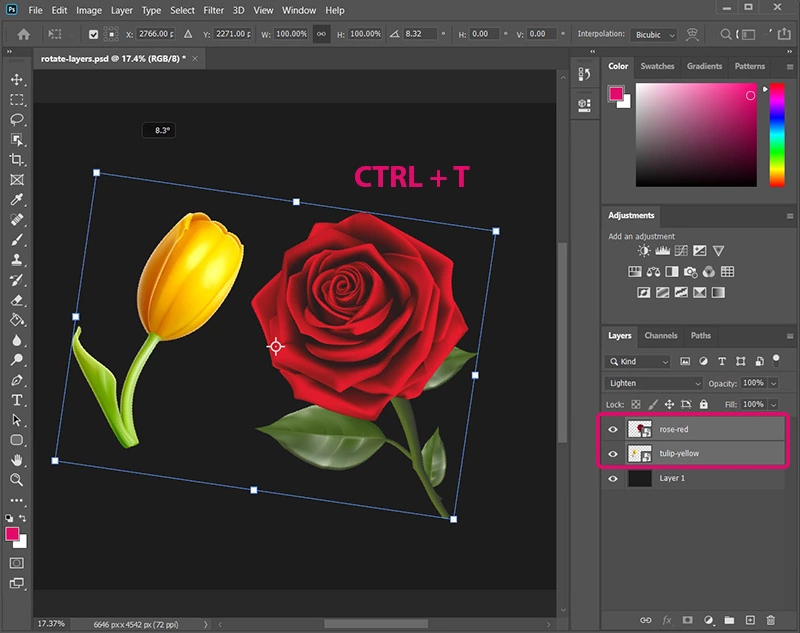
Step 2. From the top menu bar, choose Edit > Transform > Rotate or Edit > Free Transform after which a bounding box appears. You can achieve the same by pressing the Ctrl + T shortcut.
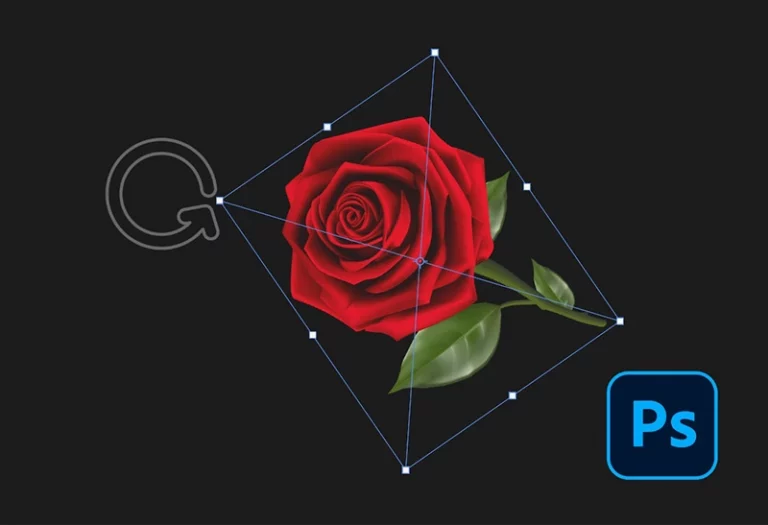
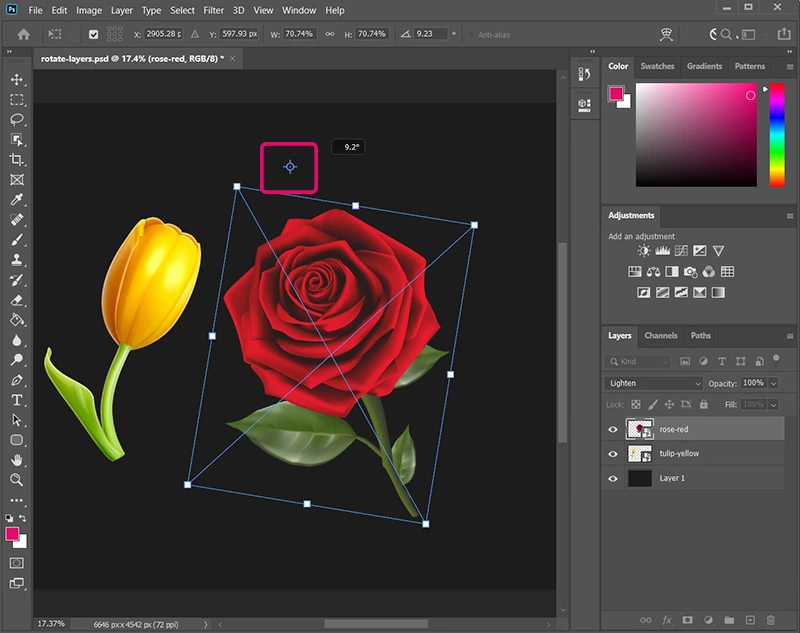
Step 3. You will be able to rotate when your pointer turns into a curved, two-sided arrow. Apply rotation by dragging the pointer to the desired direction. You can also press Shift to rotate in increments of 15° in any direction.
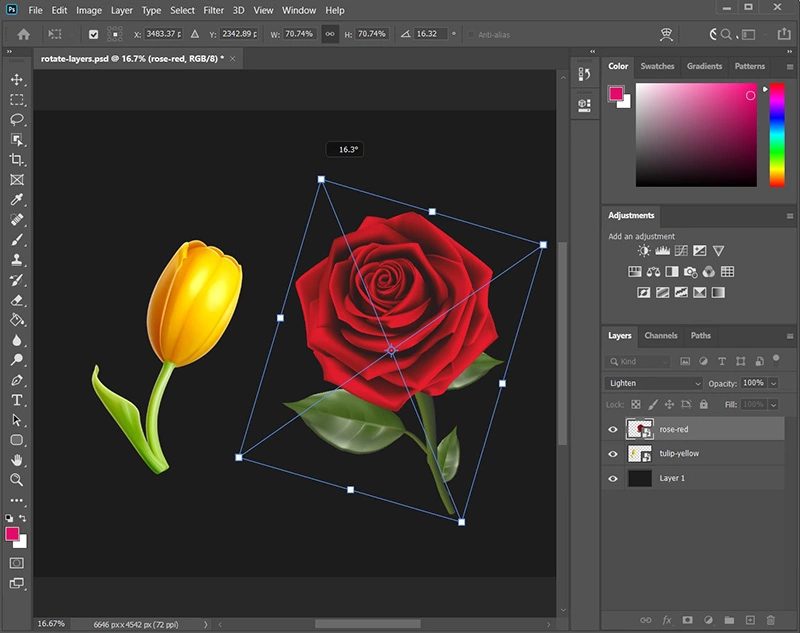
Step 4. Enter the exact value in the Rotate field in the menu bar at the top if you want to rotate the layer by the specific degree amount. Positive values will result in a clockwise rotation, while negative values will result in a counter-clockwise rotation.
Step 5. Press Enter or click on the check mark at the top bar menu when you are satisfied with the result. Press Esc to cancel and discard changes.
Step 6. If you’ve already applied the rotation but you are not satisfied with it, you can press the Ctrl + Z to restore the layer’s original orientation.
There are also predefined rotation values (180°, 90° CW, 90° CCW) you can use. So, if you want to rotate the layer by:
- 180°, then choose Edit > Transform > Rotate 180°
- 90° clockwise (90° CW), then choose Edit > Transform > Rotate 90° Clockwise
- 90° counterclockwise (90° CCW), then choose Edit > Transform > Rotate 90° Counter Clockwise
You can achieve the same by first switching to a Free Transform mode by pressing the Ctrl + T. After that, right-click inside the bounding box and select one of the presented options (Rotate 180°, Rotate 90° Clockwise, Rotate 90° Counter Clockwise).
Rotate a Layer around the Reference point
Everything explained above referred to rotation around a central point. But what if you wanted to rotate a layer around some other reference point? Don’t worry, there’s a solution for that too.
At the top menu bar, there is an option for changing the reference point location. It is represented by a checkbox and 9 tiny tiles next to it. These tiles are showing the location of the reference point.
By default, it is set to the central location, but by clicking on another tile you can easily change the reference point to another location. Then you’ll be able to rotate the layer around the newly set reference point by dragging the pointer in the desired direction.
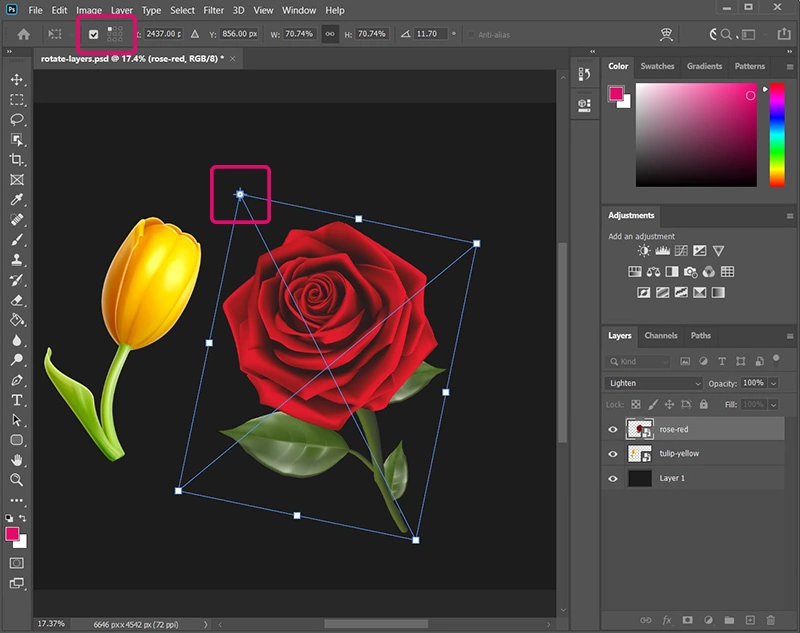
If for some reason you want to manually set the reference point, you’ll need to drag the crosshair icon inside the bounding box to another position. Now try to rotate a layer and you’ll see it goes around the reference point you just set.
How to Rotate Multiple Layers in Photoshop
Sometimes you’ll need to rotate multiple layers all by the same amount of degrees. In that case, your best option is to select multiple layers and rotate them all at once.
Rotating multiple layers in Photoshop is as easy as rotating a single layer. The main difference this time is to select multiple layers from the Layers panel. To achieve it, you’ll have to:
Step 1. Select multiple layers. You can do that by clicking the individual layers from the Layers panel while pressing the Ctrl key.
Step 2. Repeat steps 2-5 from the previous section where I explained how to rotate a single layer.
Use the Rotate View Tool
Have you ever rotated things around the screen and then turned your head in the same direction to see if everything fits perfectly? Well, there’s a tool that can help you with that.
It’s called Rotate View Tool and you can find it in the sidebar menu sitting alongside the Hand Tool. You can use it to temporarily rotate the perspective from which you are looking at the canvas.
After you choose the Rotate View Tool from the side panel, you can:
- Drag the pointer around in different directions to rotate the view.
- Input the exact amount in the Rotation Angle field to rotate the view by the specific degree amount.
Once you are done using this handy tool, you can simply press the Esc or click on the Reset View button in the top bar menu to restore the view to the original position.