If you ever tried to convert a vector layer into a pixel-based (bitmap) layer, you may have come across the concept of rasterization. You are probably wondering what does “rasterize” means and how to rasterize in Photoshop.
There are two digital image types in Photoshop, raster and vector. A raster image is composed of a rectangular grid of pixels, while a vector image is made up of geometric shapes defined by mathematical equations. Rasterizing a layer means you are converting a vector layer such as type, shape, or smart object into a bitmap representation, or simply – pixels.
To rasterize a layer, right-click on the layer in the Layers panel and choose the Rasterize option from the menu. The alternative method is to choose the option from the Photoshop upper bar menu. In that case, choose Layer > Rasterize and then choose what type of shape or layer you want to rasterize.
What does rasterize mean in Photoshop?
As I already mentioned, there are two types of images in Photoshop. You can see the main differences between vector and raster images in the following table:
| Raster image | Vector image | |
| Representation | A rectangular grid of pixels | Geometric shapes defined by mathematical equations |
| Use cases | Photographs, digital paintings | Illustrations, fonts, logos |
| Popular file types | JPEG, GIF, PNG, TIFF | AI, EPS, SVG, CDR, PDF |
| Resolution and quality | Resolution-dependent – have fixed number of pixels, therefore are losing detail if modified | Resolution-independent – can be freely modified without losing detail |
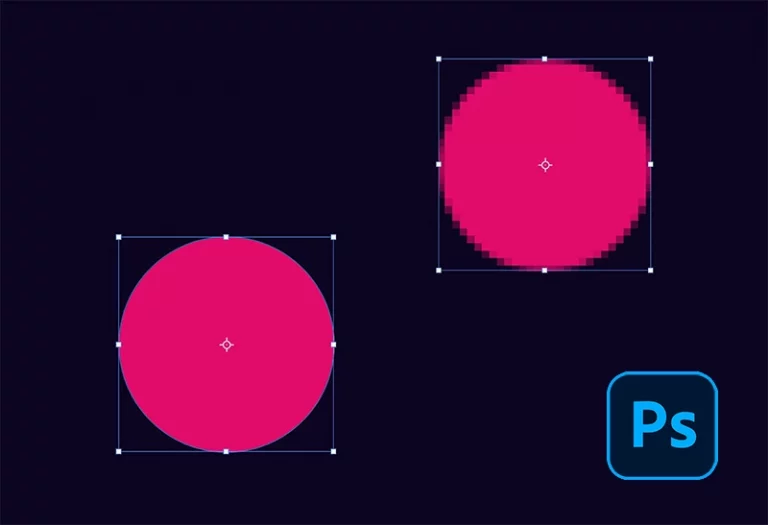
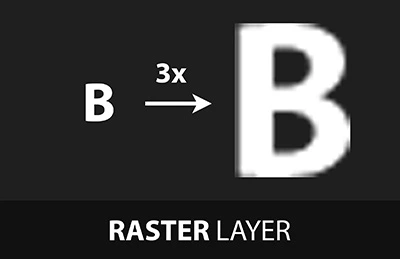
As you can see, raster images are resolution-dependent, which means that when you resize or modify the image, it loses its quality. This happens because pixels need to be artificially added or removed in a resized image which results in a quality loss. If you look at the edges of a raster image, you’ll see that they are becoming less and less smooth as you are upscaling the image.
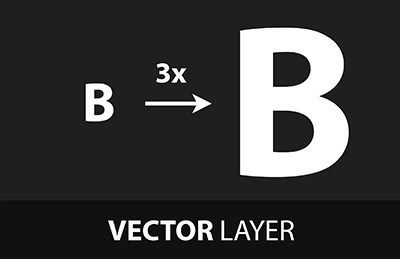
On the other hand, vector images are resolution-independent which means they can be freely resized and modified without losing any detail or clarity. Every time the vector image is resized, its shape is recalculated again by the set of equations. So, if you look at the edges of the vector image, you will see that they remain sharp no matter how many times you resize it.
Now when the base is set, what exactly is rasterization?
Rasterization is the process of converting a vector layer into a raster (bitmap) image. In that process, a geometric shape that is defined by mathematical equations is converted to a rectangular grid of pixels.
But, why would you ever need to rasterize a layer?
Some tools in Photoshop, such as brush tool, eraser, paint bucket fill, and filters only work on rasterized layers. These tools “know” to modify only pixels, not vector equations. In order to apply these modifications to a vector layer, you first have to rasterize it (turn it into pixels).
How to rasterize in Photoshop?
Now, when you know what does rasterize means, I’ll show you how to rasterize a layer in Photoshop.
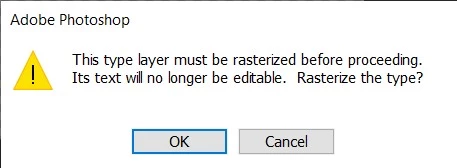
In most times, Photoshop will remind you when you should rasterize a particular shape or layer. It will usually happen when you start using a specific tool, eg. brush tool, on a vector layer. Photoshop will show you the message that can look like this: “This type layer must be rasterized before proceeding. Its text will no longer be editable. Rasterize the type?”. To rasterize a layer, just accept the prompt by clicking on OK.
If you want to manually rasterize in Photoshop, you can do it in two ways.
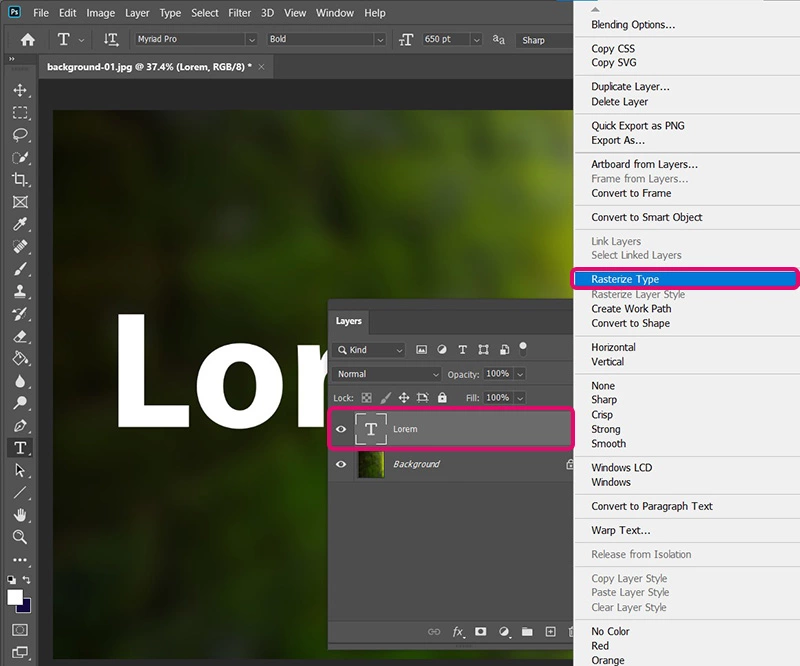
Right-click on the layer in the Layers panel, then choose the Rasterize Type or Rasterize Layer option depending on what type of element you want to rasterize.
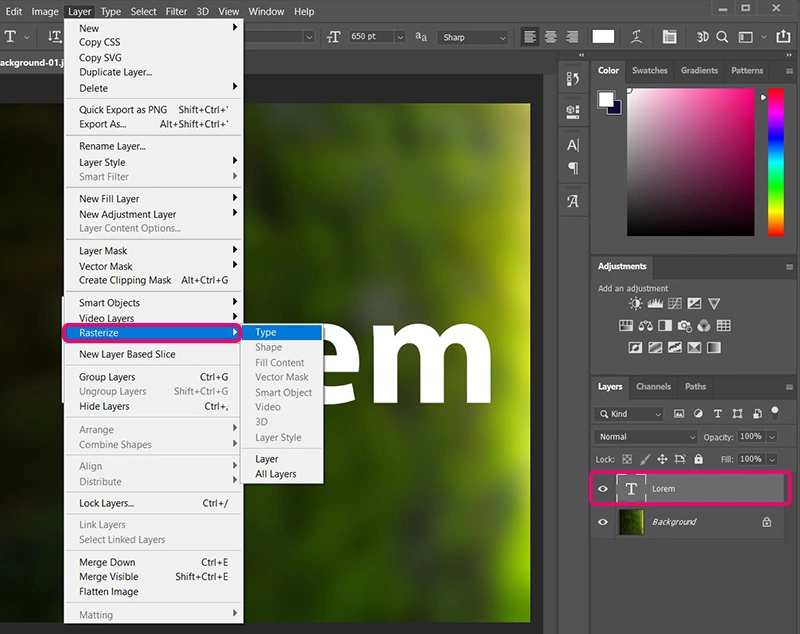
Another way is to do it via the upper bar menu in Photoshop. Choose Layer > Rasterize, then select what type of element you want to rasterize. Possible options include Type, Shape, Fill Content, Vector Mask, Smart Object, Video, 3D, Layer Style, and Layer.
The layer you selected is now rasterized, which means you can now apply any modification to it. The downside is that you can’t rescale it any longer without reducing its quality.
WARNING - After you rasterize a layer, it completely loses its vector functionality. This means shapes and text can no longer be scaled without the loss of quality. Also, for text, this means you cannot edit the content, font, or any other text-specific style anymore.
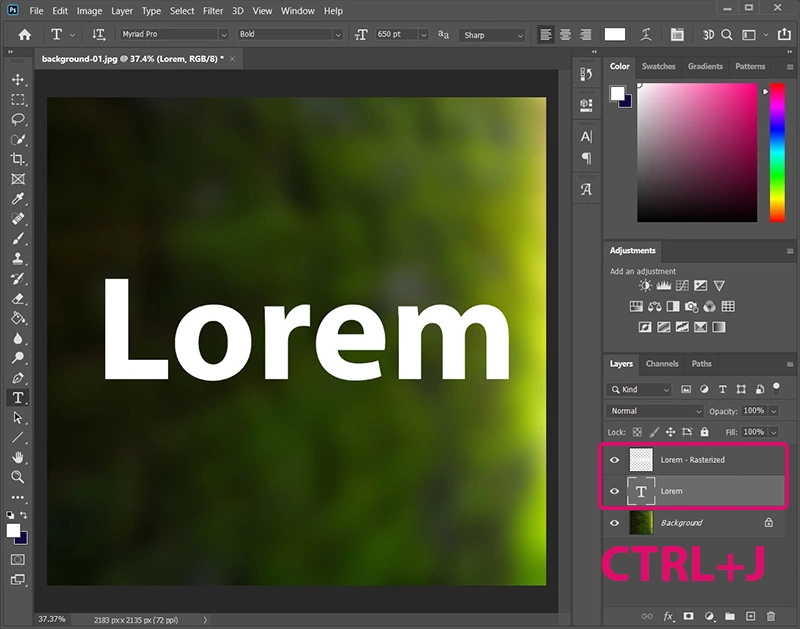
To avoid it, a good practice is to always duplicate a layer that is meant to be rasterized. That way you can have a copy if at any point in the future you decide to modify it. To do that, just choose Layer > Duplicate or simply press Ctrl+J (Windows) or Command+J (Mac).
When to rasterize in Photoshop?
Specific tools require vector layers to be converted to rasterized layers, therefore it is important to know when to rasterize in Photoshop.
Since there’s a quality loss included when doing modifications on a rasterized layer, you must take into consideration what the final artwork will be used for.
If you plan to use it in a standard size digital format, eg. for a web page, then go ahead, rasterizing won’t cause any meaningful degradation.
If you plan to use the artwork for the large format print, then avoid rasterizing any layer. Reduced edge sharpness, blurred image, and loss of overall quality may easily become noticeable on any large-scale print.
Anyway, there are a few alternative methods that can help you achieve the same results without rasterizing the layer. For example, you can create a blank layer on top of the image, then draw on it to simulate modifications you would usually do. Another way is to use a layer mask that can also simulate drawing or erasing.
Types of layers you can rasterize
As I already briefly mentioned before, multiple types of layers are by default vector-based, therefore should be rasterized if you want to use them with some specific tools.
These layer types include:
- Type
- Shape
- Fill Content
- Vector Mask
- Video
- 3D
- Layer Style
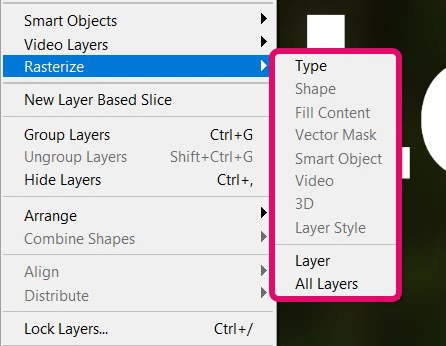
You can also see all options if you choose Layer > Rasterize. Whatever option you choose, it will convert that specific layer type into pixels. If you want to rasterize the whole layer regardless of the layer type, then choose the Layer option. Also, if you want to rasterize all your layers, it’s pretty straightforward, just choose the All Layers option.
Summary
We went through every aspect of rasterizing in Photoshop – what it means exactly, how to do it and when should you do it. You don’t need to worry too much about rasterization, in most cases, Photoshop will remind you when you should do it.
It is really easy to convert vector layer into pixels. Either you accept the prompt Photoshop shows you, or right-click on the layer, then select Rasterize Type or Rasterize Layer.
My only advice is to be careful while rasterizing a layer since it isn’t a good way of editing non-destructively. The best practice is to first duplicate the layer you want to rasterize and preserve it for potential future modifications.
That’d be all, I’m glad if you have learned something new!
See you guys.