
You’ll often need to select a particular area of an image. The selection process can be fast and easy, but also complex and time-consuming. It depends on the goal you are trying to achieve. In this article, I’ll teach you how to invert the selection in Photoshop. You’ll see that this knowledge will be useful and highly applicable in all your future photo editing adventures.
In short, inverting a selection means that your originally selected area becomes unselected, while the previously unselected area becomes selected. There are a few ways how you can achieve that.
3 quick methods to invert selection in Photoshop
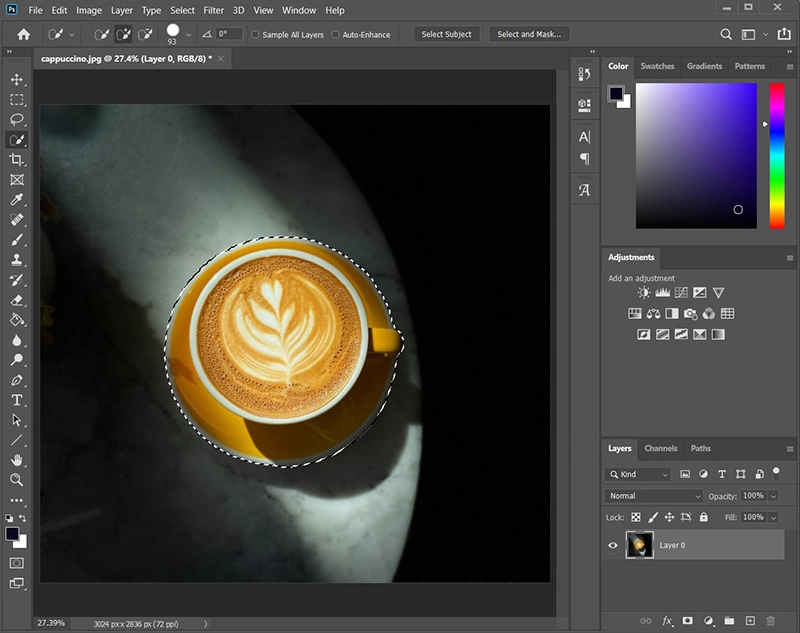
Let’s start with the following example. First, open an image. In my case, it’s an image of a cup of coffee on the table.
Now, select the part of an image you don’t want to have selected in the end. You can do that by using one of the selection tools (Marquee tools, Lasso tools, or Quick selection tools). Draw the selection boundaries around that part of an image. You’ll know that the selection is active when you see short, dashed lines surrounding the selected area, also known as the marching ants.
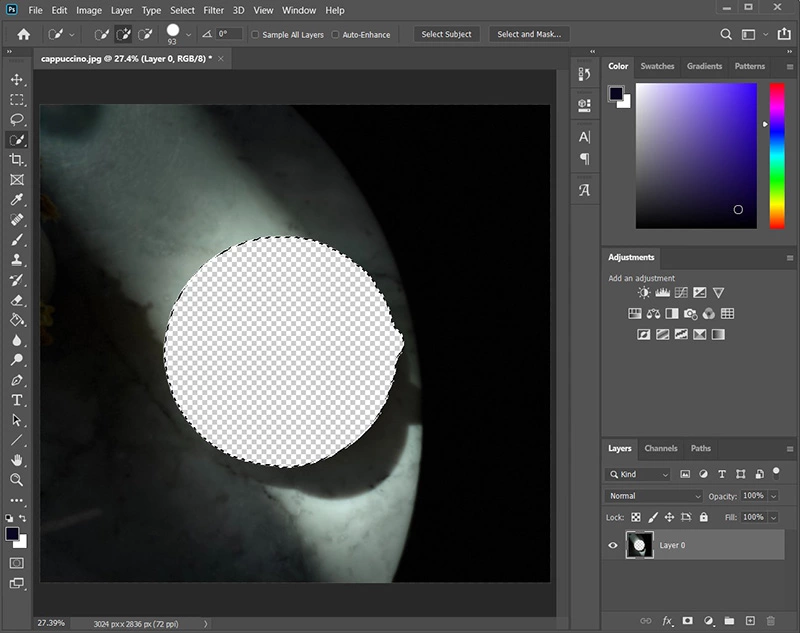
Just for demonstration, I will delete everything that is covered by selection by pressing the Del key shortcut. You can see that the cup of coffee disappeared, leaving the empty space in the middle of the layer.
To invert the selection, first, make sure you have an active selection. Then use one of the following 3 methods:
- Press Ctrl+Shift+I (Windows) or Command+Shift+I (Mac).
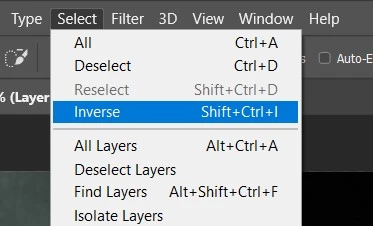
- Go to Select > Inverse.
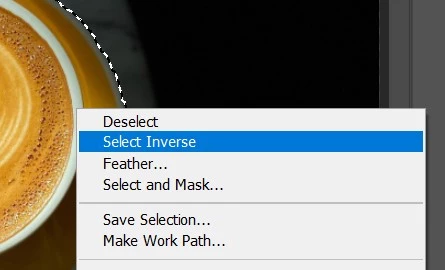
- Right-click on the selection, then choose Select Inverse.
Whatever method you used, you will now have the opposite area selected. The previously selected area became unselected, while the previously unselected area became selected.
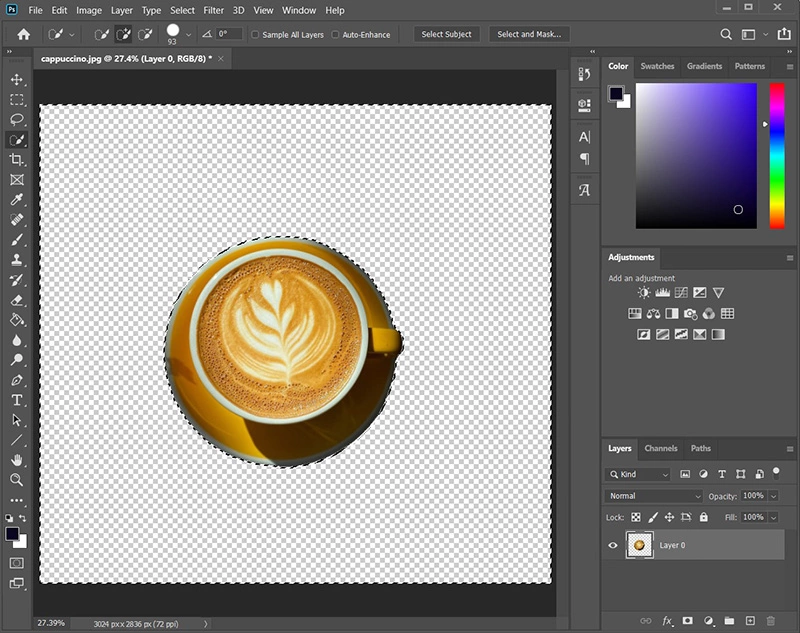
You can see in the used example that the selection now covers everything except the cup of coffee. It covers the area between the edges of the image and the cup.

Again, to show you what area is covered by the inverted selection, I’ll delete the selected area by pressing Del.
You can invert the selection as many times as you want to switch back and forth between selected areas. Also, if you are not satisfied with the selection you can fine-tune it or even deselect everything as I already explained here.
When to invert selection in Photoshop?
Why in the first place would you need to invert the selection in Photoshop? While in many cases you won’t need to invert the selection in Photoshop, there are some specific cases when it will make your life easier. These are the 2 most common ones.
1. Correct a mistakenly selected area
Well, the first and most obvious reason to invert a selection is if you made a mistake and selected the opposite area from the one you had to. In that case, instead of creating a new selection from scratch, you can inverse selection to correct the mistake.
2. Simplify the selection process
The second reason to invert selection is to simplify your selection process. Yes, that may sound odd but let me explain.
Let’s put it in this perspective – you have an image in which you have to select an area with all kinds of complex edges and patterns. Then you start drawing the selection and soon realize it isn’t fun anymore because it’s so time-consuming. It would be much easier if you first selected the less complex part of an image and then just inverted it.
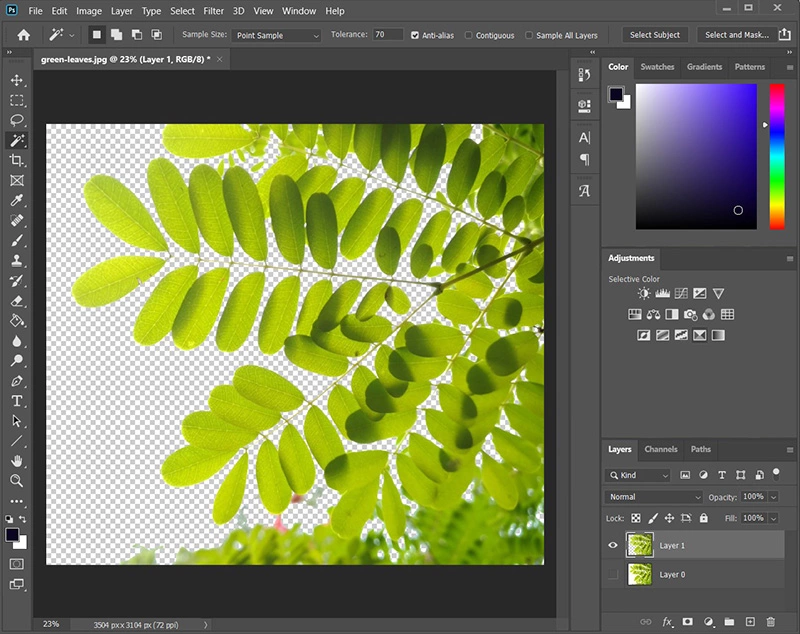
I will show you that by example. I have an image of green leaves with a very bright background and I want to select only leaves so I can use them as an individual layer.
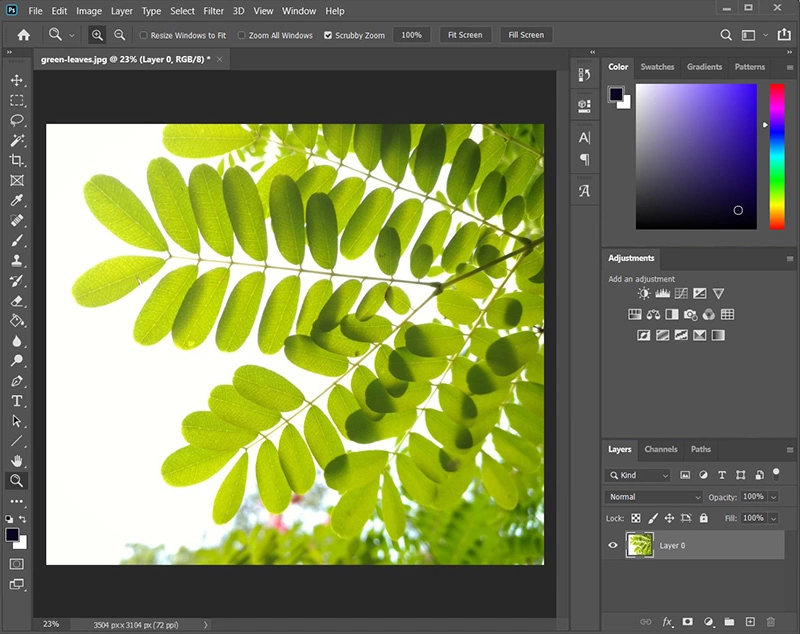
If I start adding leaf by leaf to the selection, the process will very soon become error-prone and time-consuming. Isn’t there a better way to achieve the same goal? Of course there is, we just have to look at it from a different perspective.
To select only green leaves you should instead follow these 4 simple steps:
Step 1. Choose the Magic Wand tool from the sidebar menu. Deselect the Contiguous option from the upper bar menu to enable combining selections that are not mutually connected.
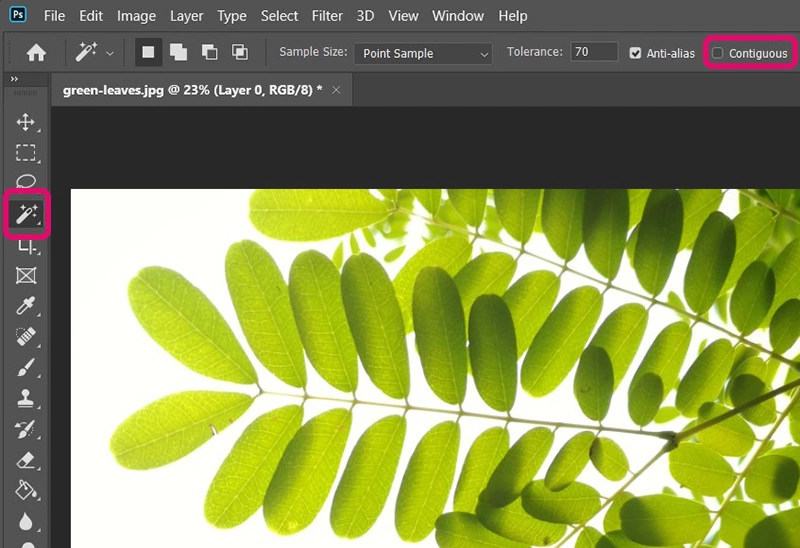
Step 2. Click somewhere on the bright area to select every part of an image that has the same color. Everything except green leaves should now be selected. At this point, use one of the 3 previously explained methods to invert the selection. I’ll just use the shortcut Ctrl+Shift+I (Windows) or Command+Shift+I (Mac) to invert it.

Step 3. As you can see, only green leaves are selected now. In the end, to separate the selected area from the background just press Ctrl+J (Windows) or Command+J (Mac). It will copy the selected area to the new layer.
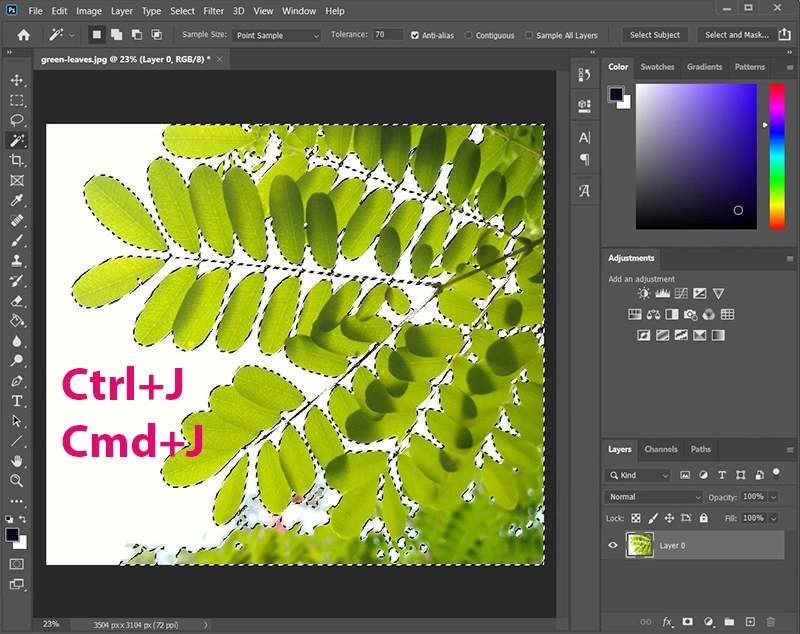
Here you can see the final result that includes only green leaves with no background.
HINT - Did you know you can select the outline of your layer in only one step? Hold down the Ctrl key and at the same time click on the thumbnail of a wanted layer. The selection will appear, precisely following the outline of the chosen layer.
Conclusion
After reading this article, you should now know how to invert selection in Photoshop. I would advise you to learn every keyboard shortcut related to creating, removing, editing selections since you’ll be using them a lot. This will make your photo editing process much faster and you’ll have more time to focus on the more important stuff such as creativity.
Thanks for reading and see ya!